basic DALI installation – 3 groups
Project scope
- office with up to 10 luminaires and 3 groups
- Sensor for movement / presence
Each work place is regulated individually
Light turns on when movement / presence is detected and turns off after 10 mins of absence - Sensor for constant light control (energy saving)
light control depending on the brightness inside a room - Manual control
Manual on / off (switch)
Manual dimming: switches off constant light control (sensor for movement / presence is detection remains active)
Featured topics
- Planning DALI light installation
- Required DALI devices
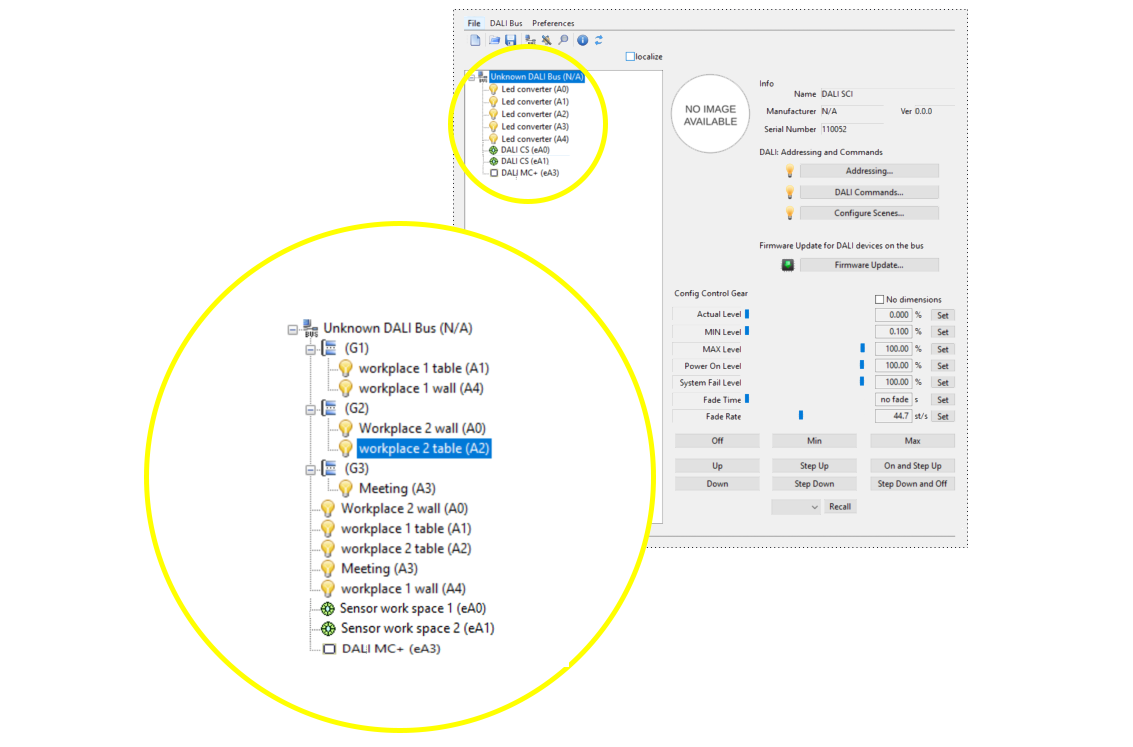
- Setup and configuration with DALI Cockpit Software
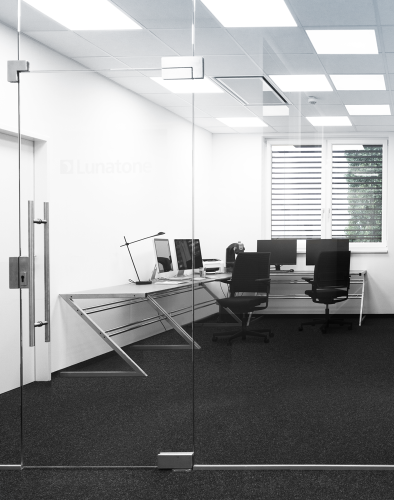
Planning DALI light installation
Initial installation
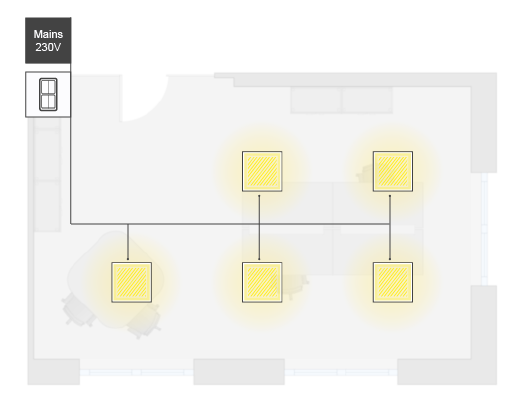
- Office with 2 work places, 1 small meeting table
- 5+ luminaires
- Manual control (light switch at entrance)
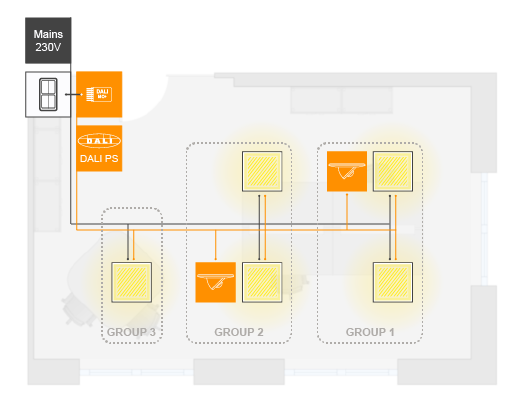
DALI light management
- devision in 3 groups (2 work places, 1 small meeting table)
- Movement / Presence sensor for each work place and constant light control
- Integration of conventional light switch in DALI System (DALI Power Supply and DALI MC+)
Required DALI devices


1x
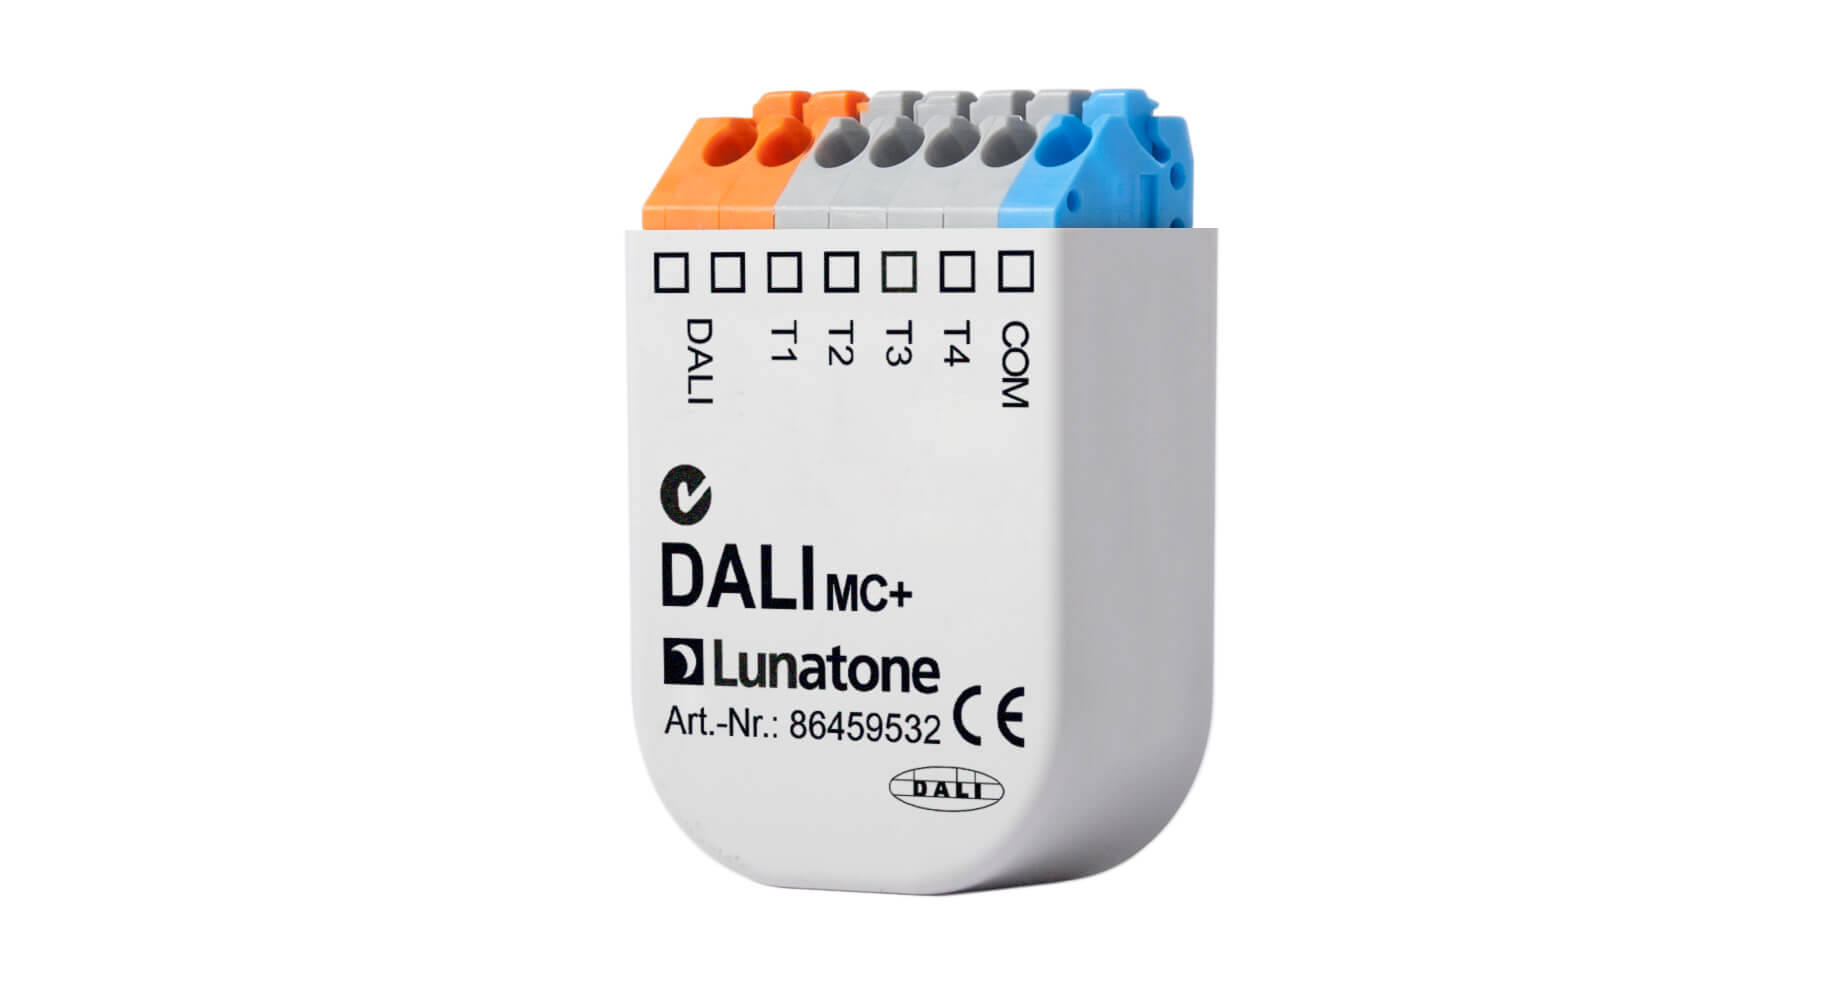
Art.Nr.:86459532 DALI MC+
-> go to product page
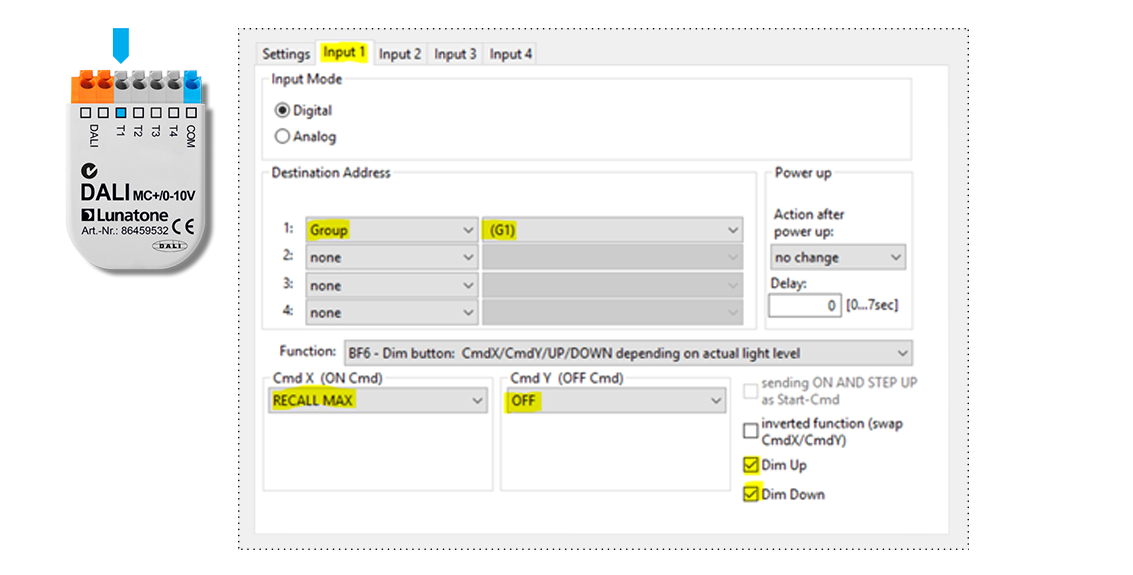
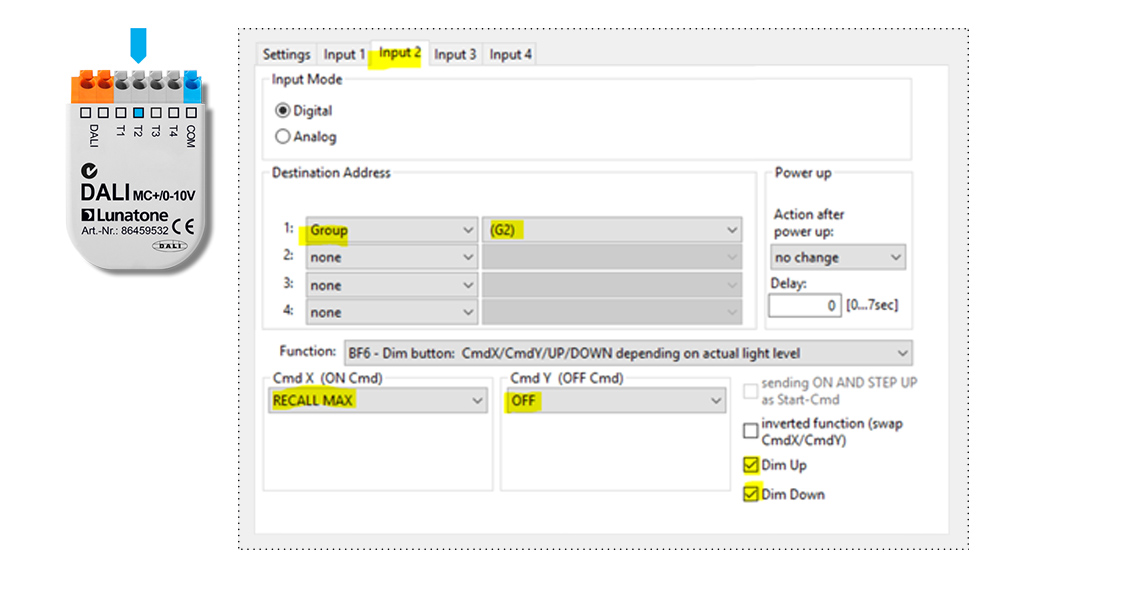
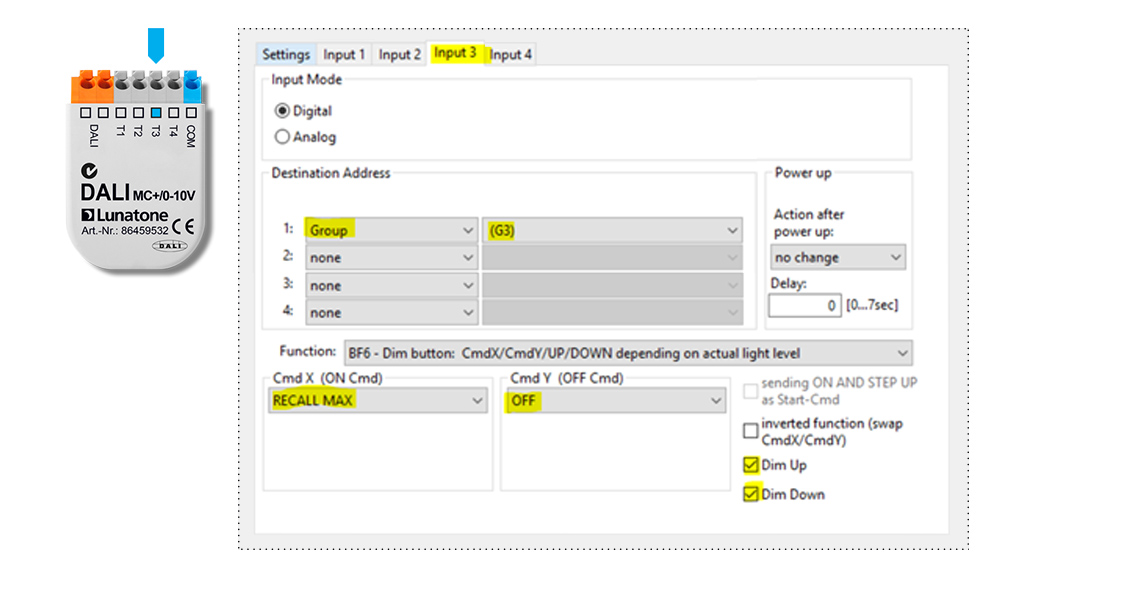
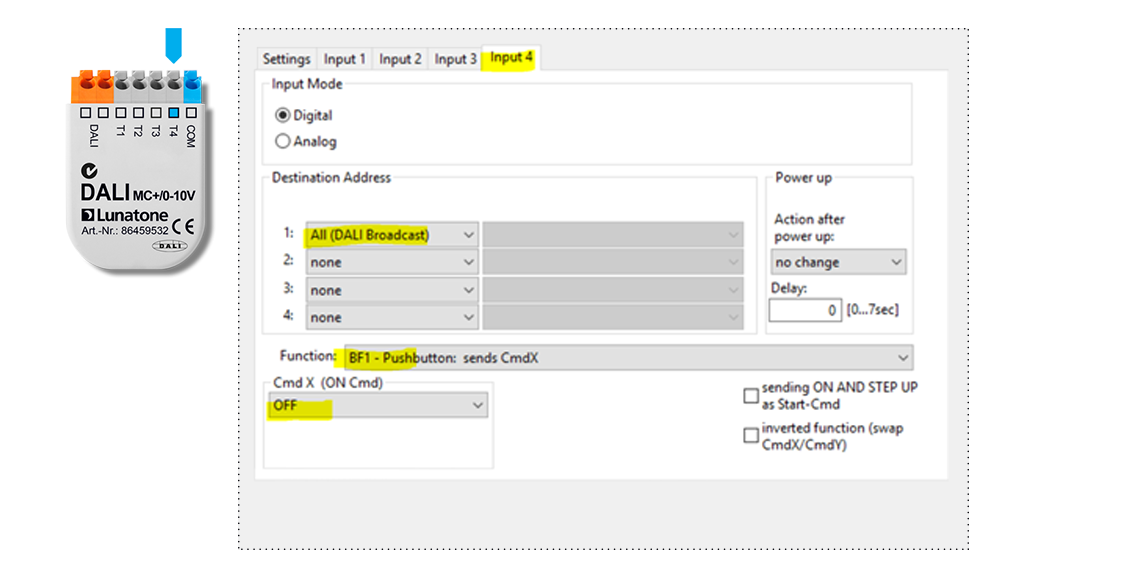
DALI MC+: push button coupler
Button 1: switch on/off dim up workplace 1
Button 2: switch on/off dim up workplace 2
Button 3: switch on/off dim up meeting table
Button 4: all off
1x
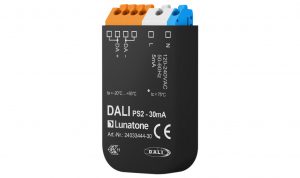
Art.Nr.:24033444-30 DALI PS 30mA
-> go to product page
DALI power supply with 30mA (up to 10 luminaires plus controls)
Mounted in Back box with DALI MC+
2x
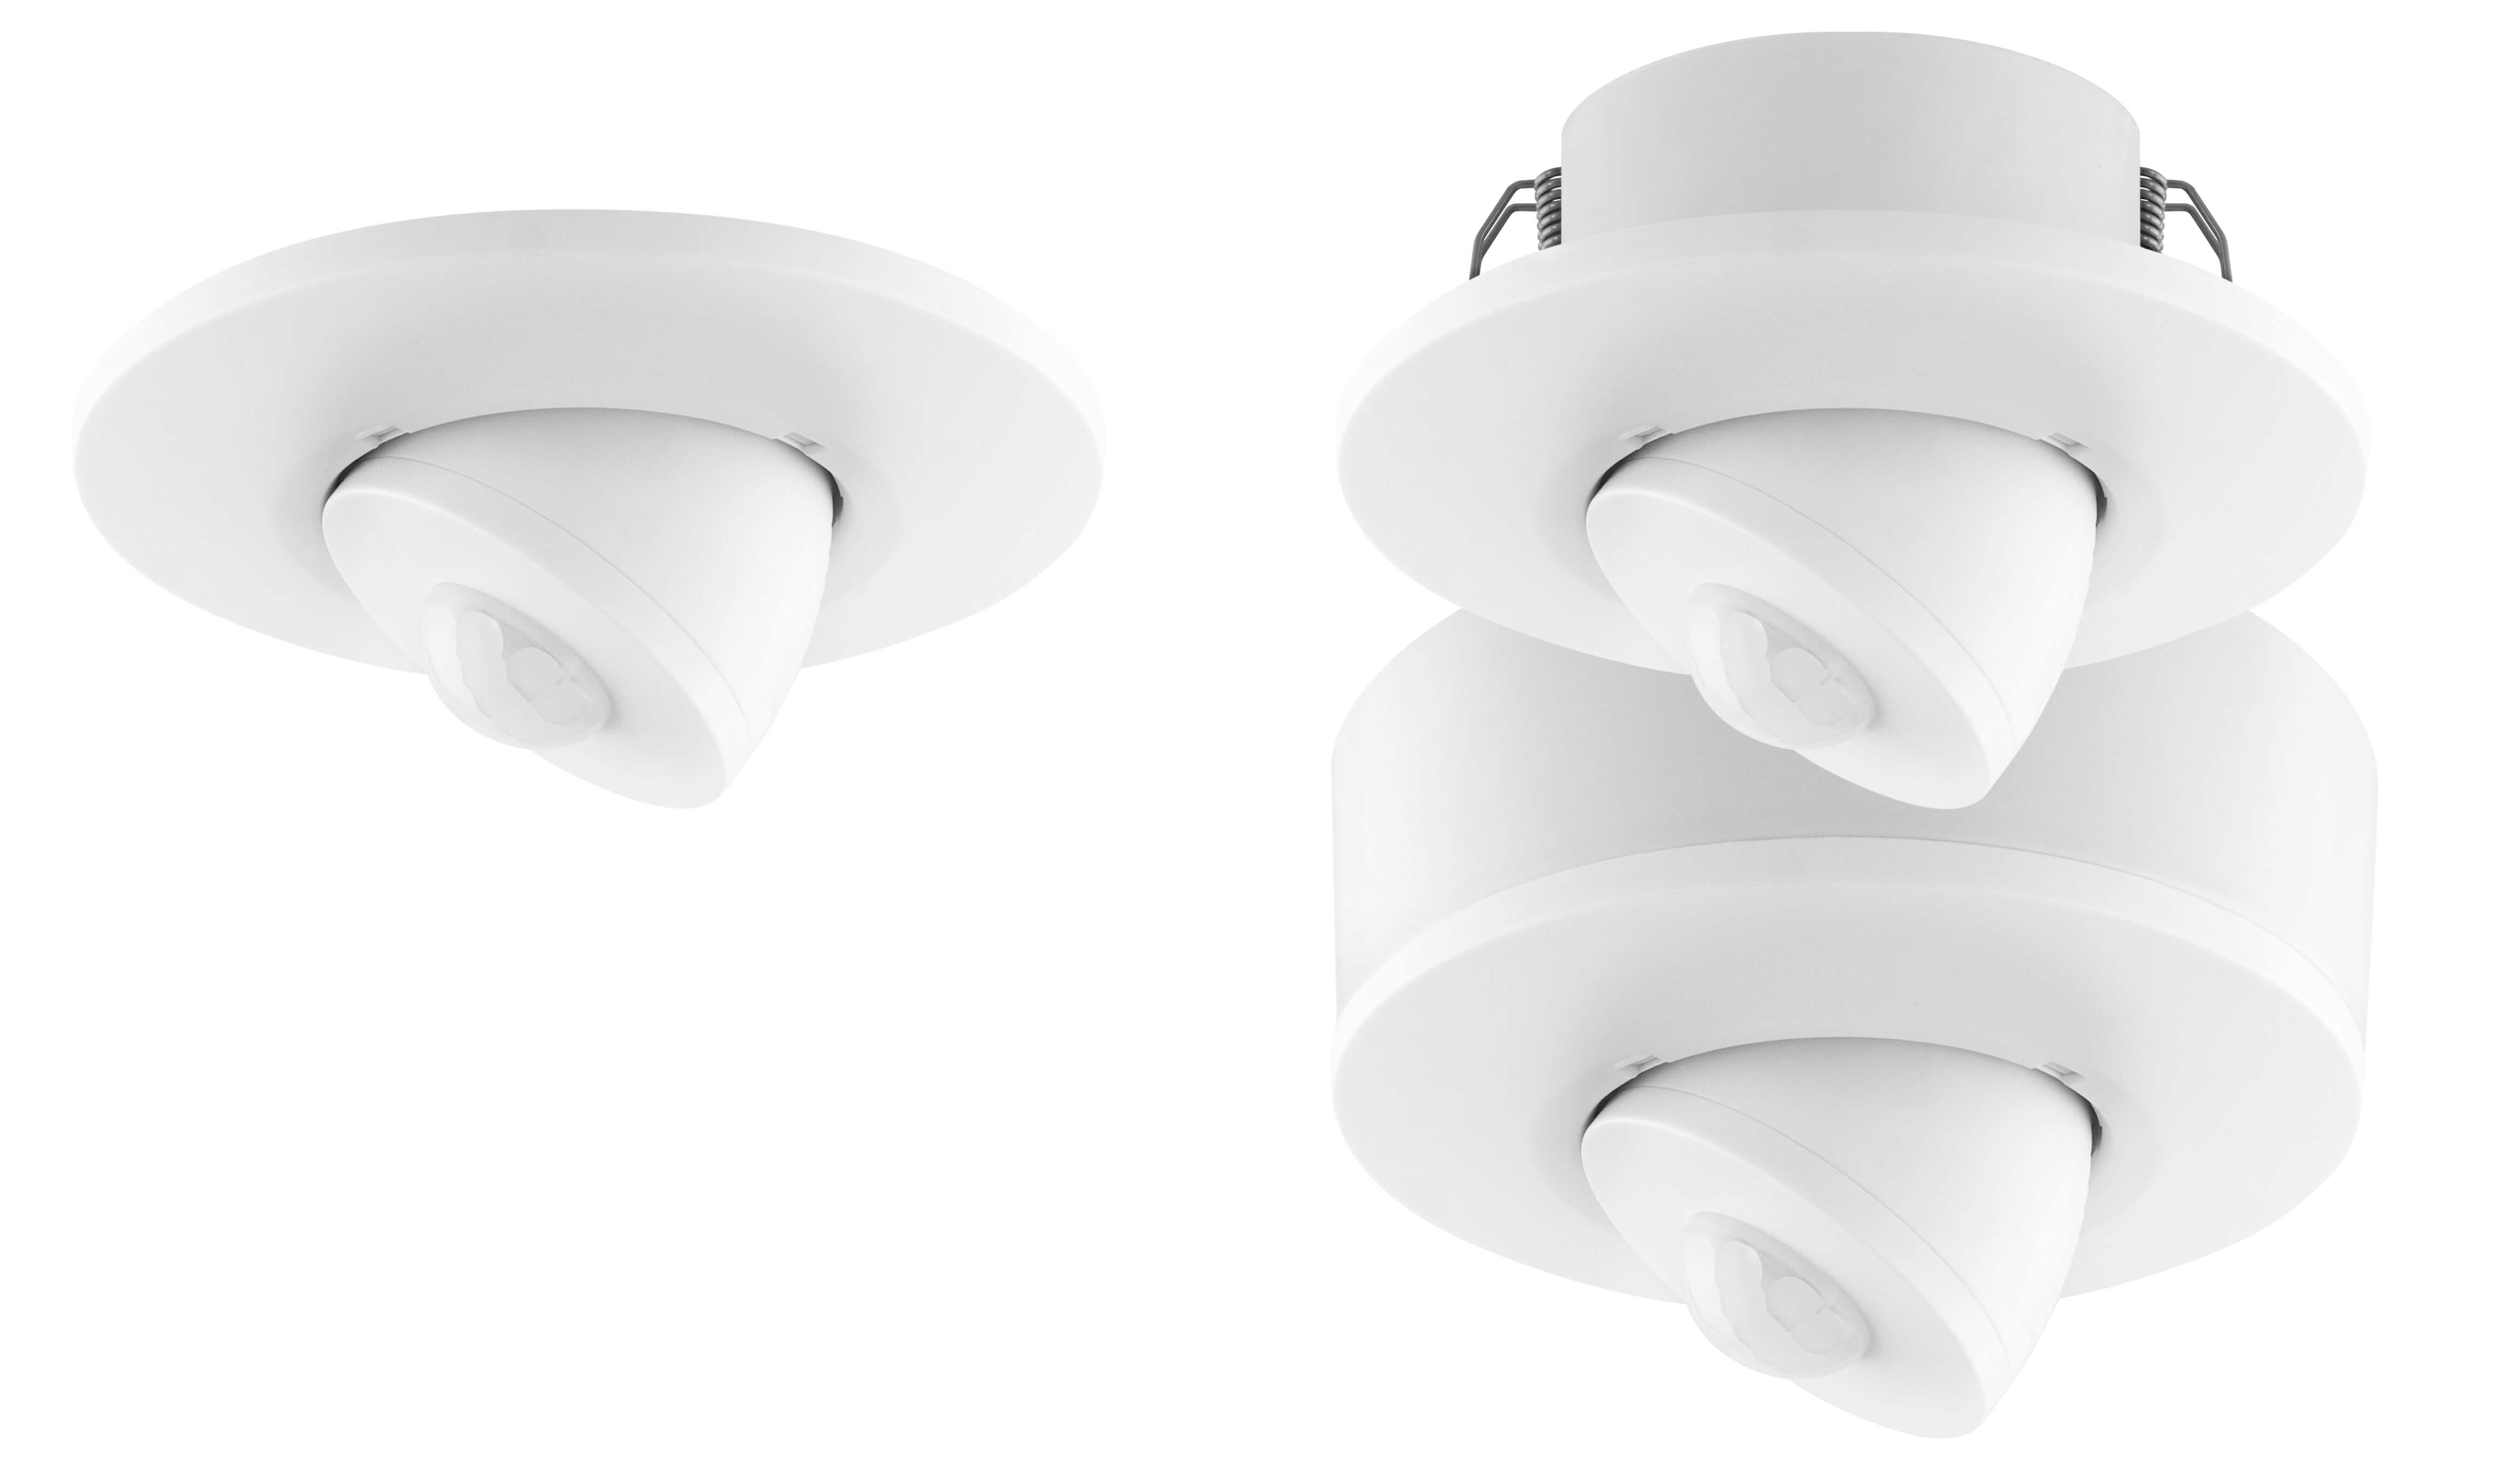
Art.Nr.:86458621-ZD DALI CS ceiling
-> go to product page
DALI CS Sensor: 2 x movement and light sensor
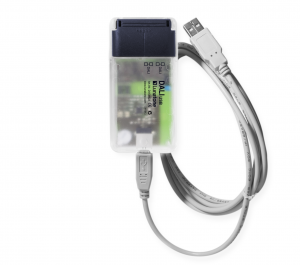
Required for setup and configuration
Setup and configuration with DALI Cockpit Software
Step 1: General
Step 2: DALI MC+
setup T1 to T4 -> Input 1 to Input4 in DALI Cockpit
Step 3: DALI CS
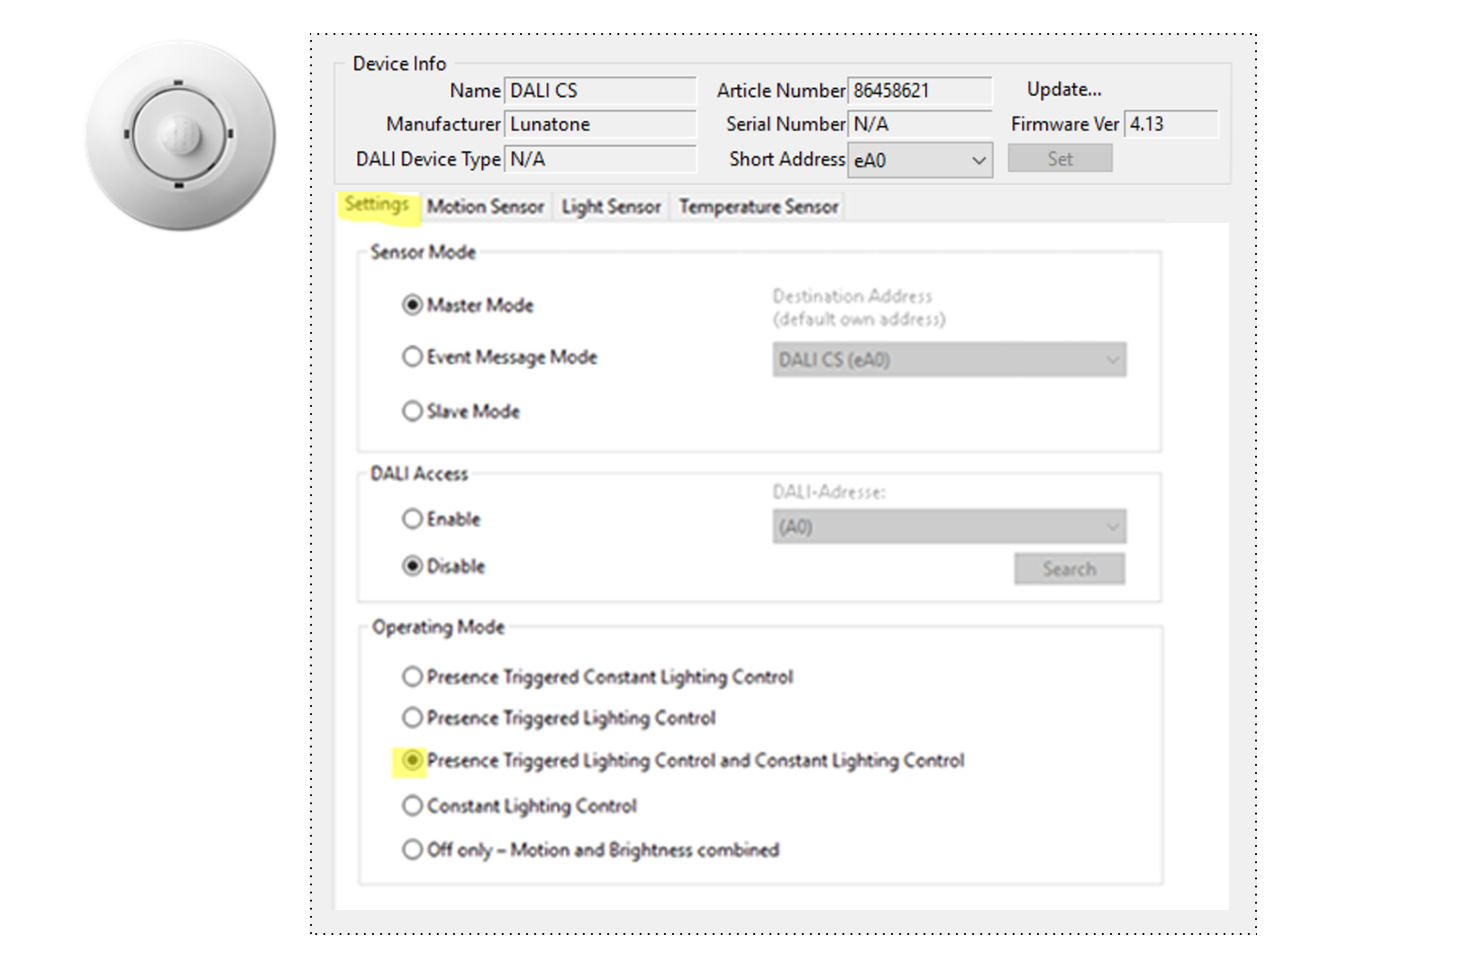
Tab “Settings”
(applicable for sensor 1 and 2)
- in the section “Operating Mode” select: “Presence Triggered Lighting Control and Constant Lighting Control”
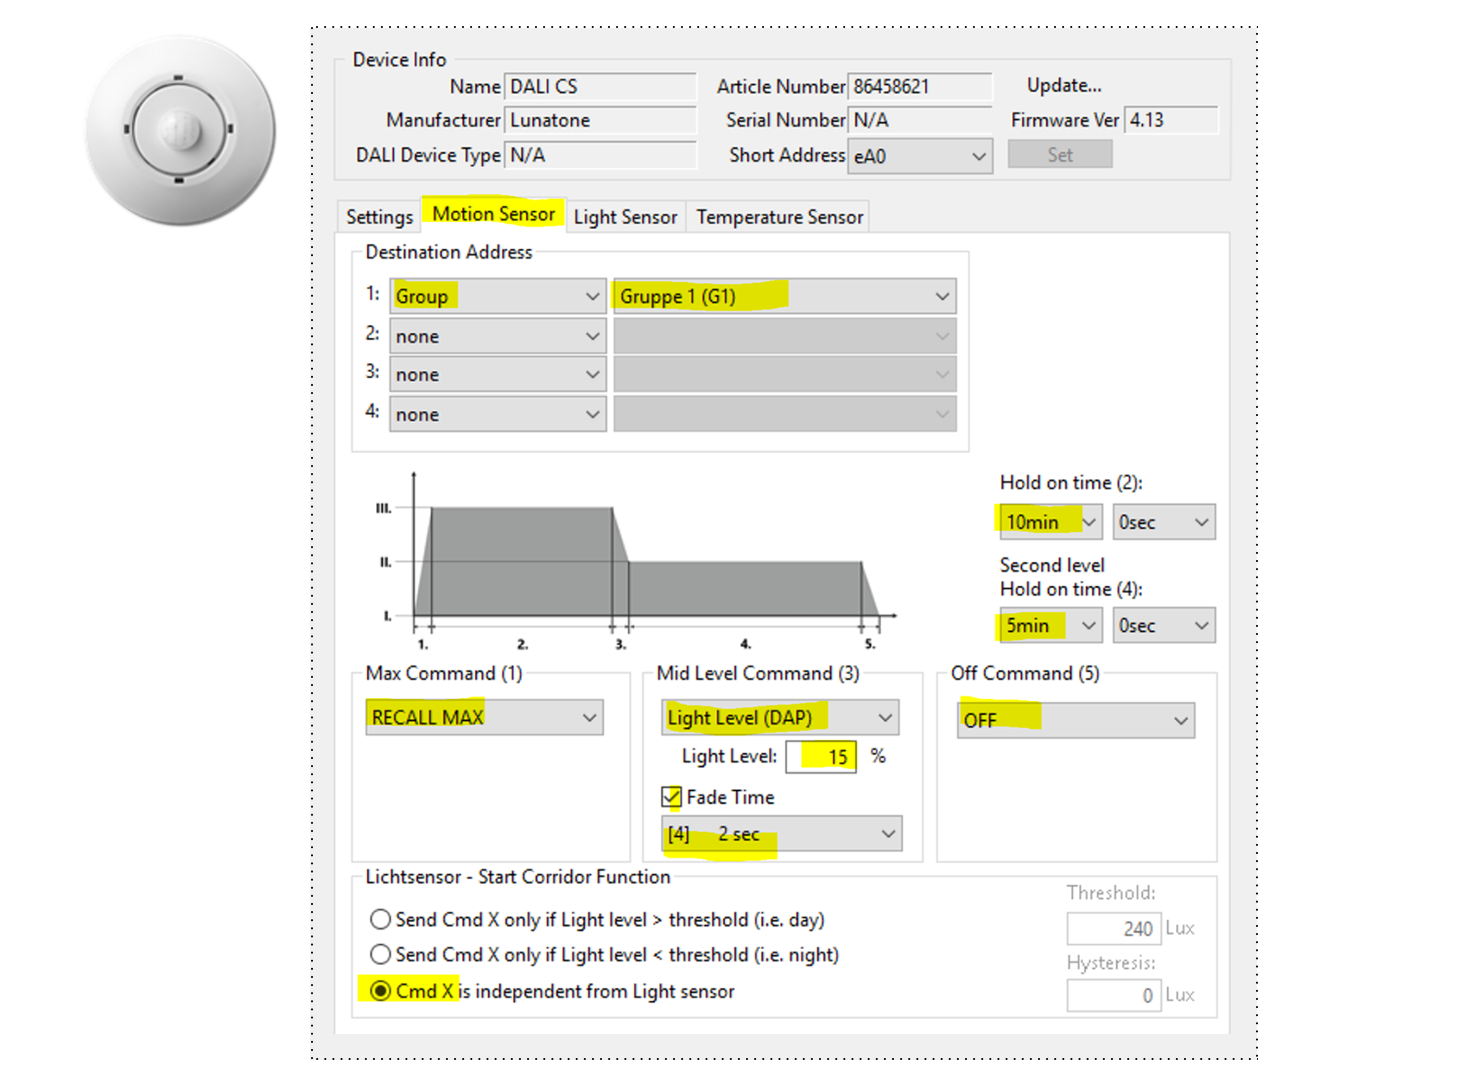
Tab “Motion Sensor”
Settings for sensor 1:
- Destination Address: Group 1 (G1)
- Max Command (1): RECALL MAX
- Mid Level Command (3): Light Level (DAP)
Light Level: 15%
Fade Time: [4] 2 sec - Off Command (5): OFF
- Hold on time (2): 10min
- Second level Hold on time (4): 5 min
- Lichtsensor – Start Corridor Function: select: “Cmd X is independent from Light sensor “
Settings for sensor 2:
- Destination Address: Group 2 (G2)
- Max Command (1): RECALL MAX
- Mid Level Command (3): Light Level (DAP)
Light Level: 15%
Fade Time: [4] 2 sec - Off Command (5): OFF
- Hold on time (2): 10min
- Second level Hold on time (4): 5 min
- Lichtsensor – Start Corridor Function: select: “Cmd X is independent from Light sensor “
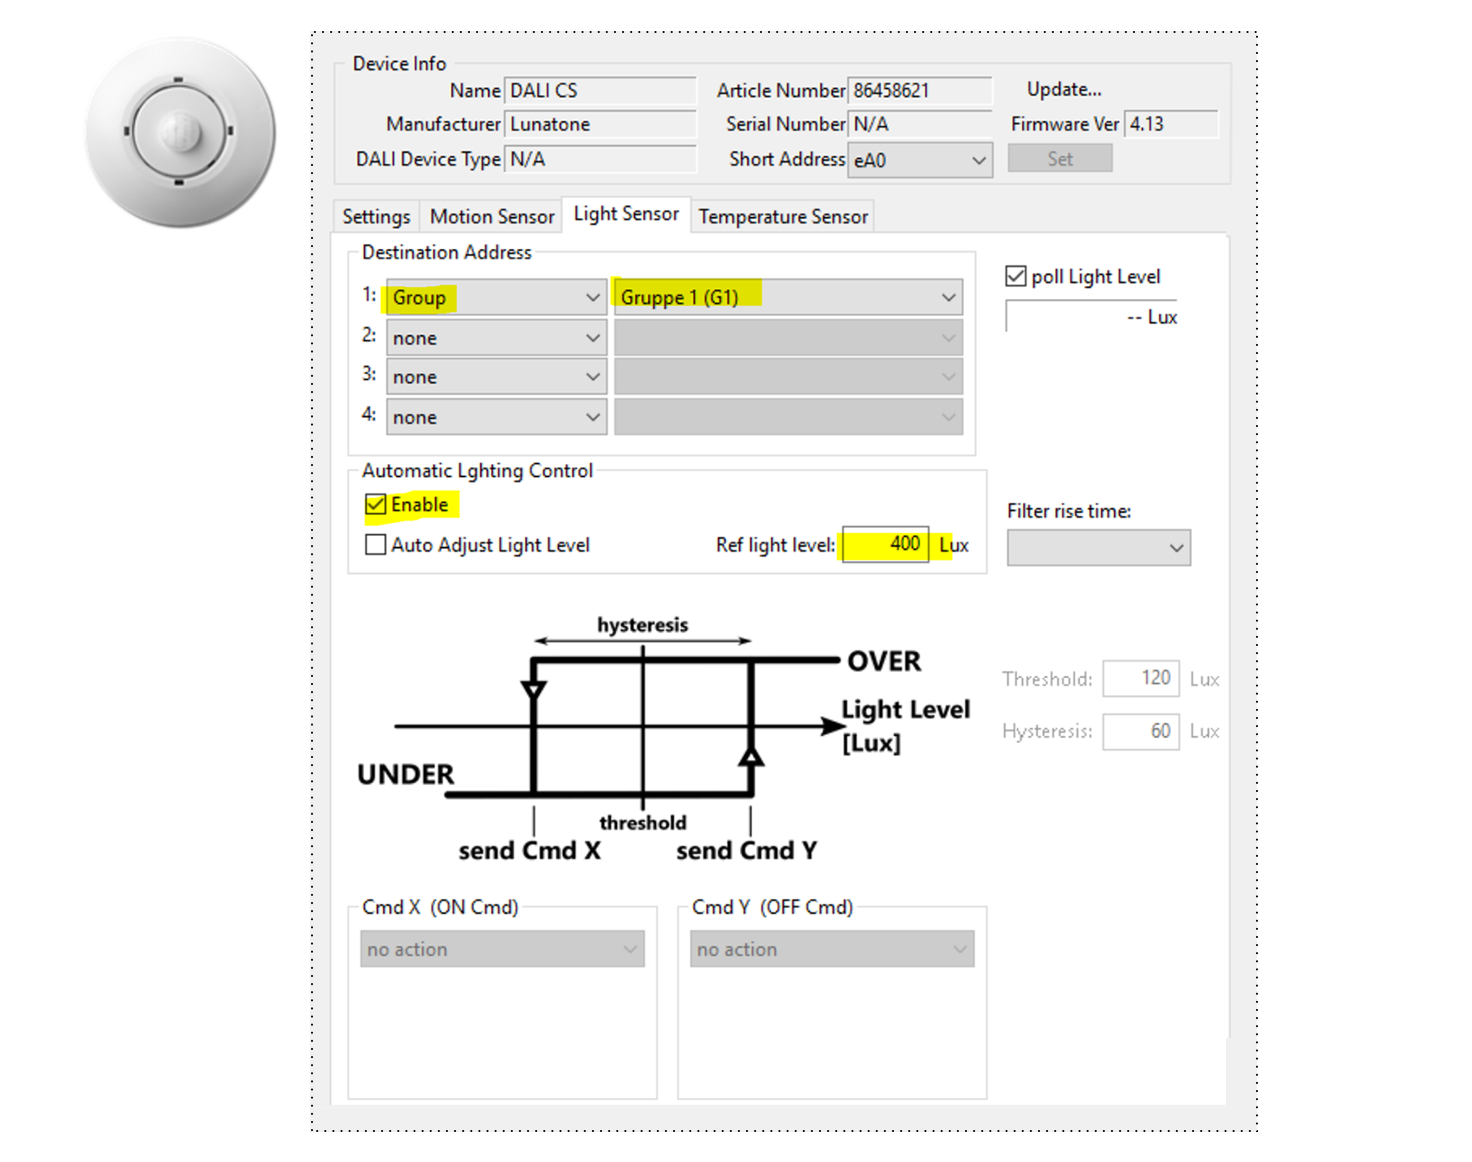
Tab “Light Sensor”
Settings for sensor 1:
- Destination Address: Group 1 (G1)
- Automatic Lighting Control:
Enable
Ref light level: 400 Lux (reference light level should be adapted and checked on site)
Tab “Temperature Sensor”
not used in this application
Settings for sensor 2:
- Destination Address: Group 2 (G2)
- Automatic Lighting Control:
Enable
Ref light level: 400 Lux (reference light level should be adapted and checked on site)
